Lab Calibration
Launch a calibration event by selecting Events → Calibration from the main-screen menu. The default Calibration event has five steps:
- Event Information
- Documents
- Service/Repair Parts
- Specify Standards
- Calibration Results
These steps capture all the information needed to complete the event.
The following information must be visible on the Event Information view to print a certificate for the calibration. If any required field is missing, you'll be prompted before completing the event:
- Cert. Type
- Cert. Number
- Vendor
- Result
- Completed (set automatically when the event is completed)
Step 1 — Event Information
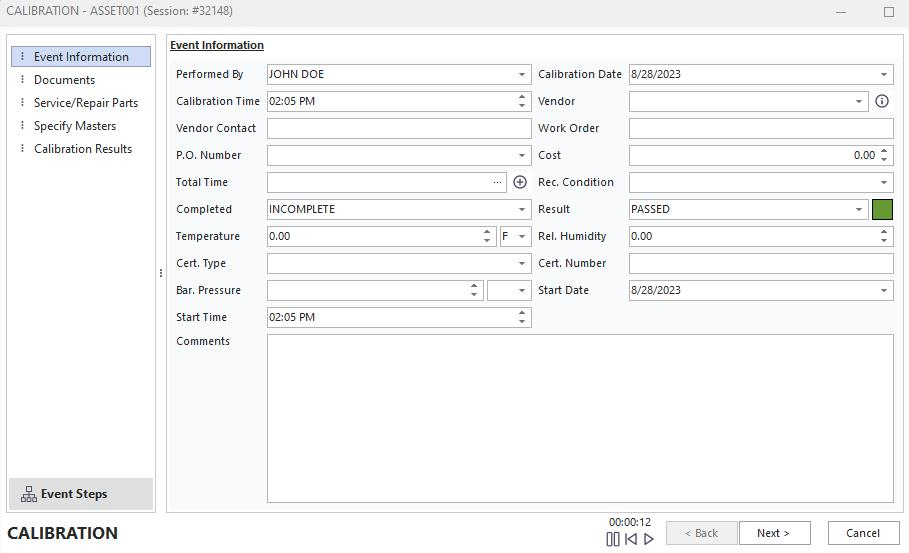
Event Information
Click Next to proceed to the second screen.
Step 2 — Document Information
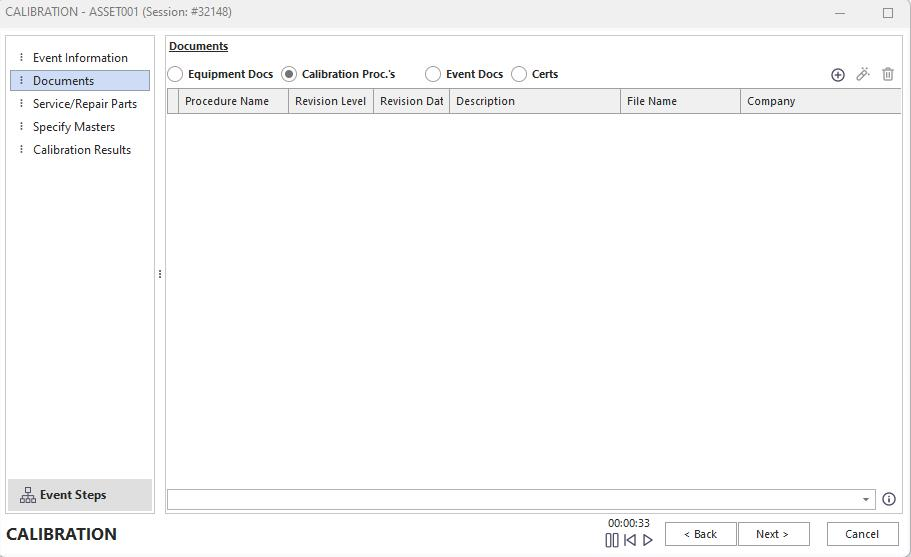
Document Information
Documents are carried forward into the event if you've inserted them on the Equipment layout screen under the Calibration Info tab. You can also add them on the fly by clicking the Add New icon at the top-left of the screen. The dialog box below appears.
Click OK to add the document to the event.
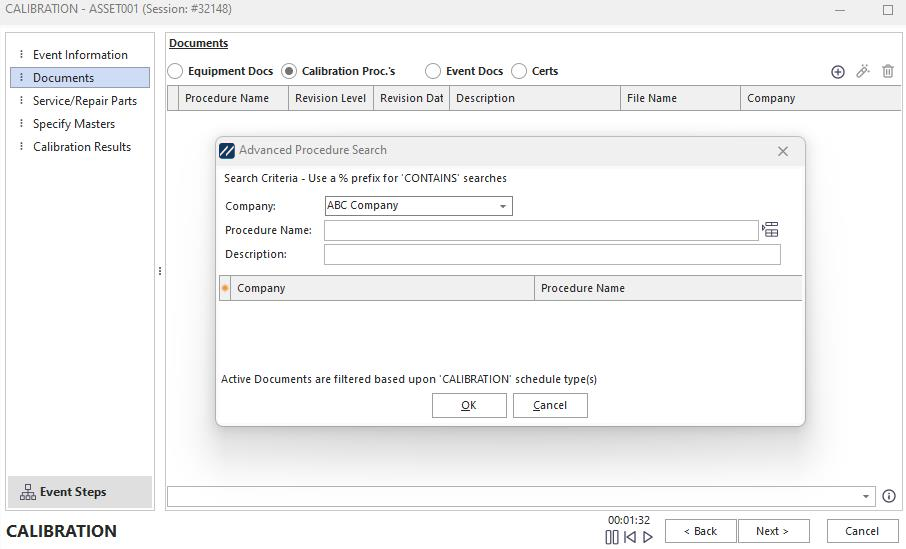
Advanced Procedure Search
You can scan documents by selecting the Event Docs or Certs radio buttons. The dialog box below appears — attach the document from a file or scan it directly.
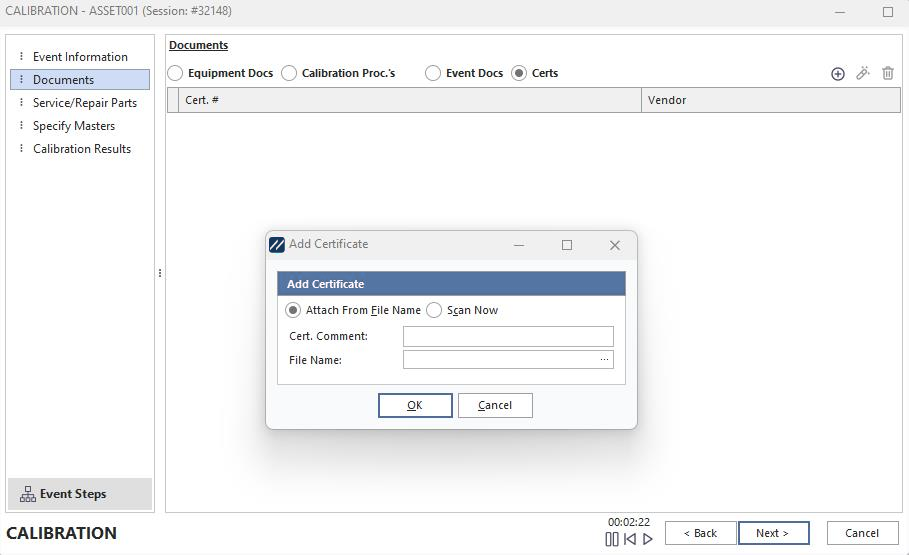
Add Certificate
Click Next to proceed to the third screen.
Step 3 — Service/Repair Parts
These can be added here or from the equipment view screen. Any charges or parts linked from a template can also be added.
Service/Repair parts could include charges for batteries or fuses and replacement parts to repair the calibrated item.
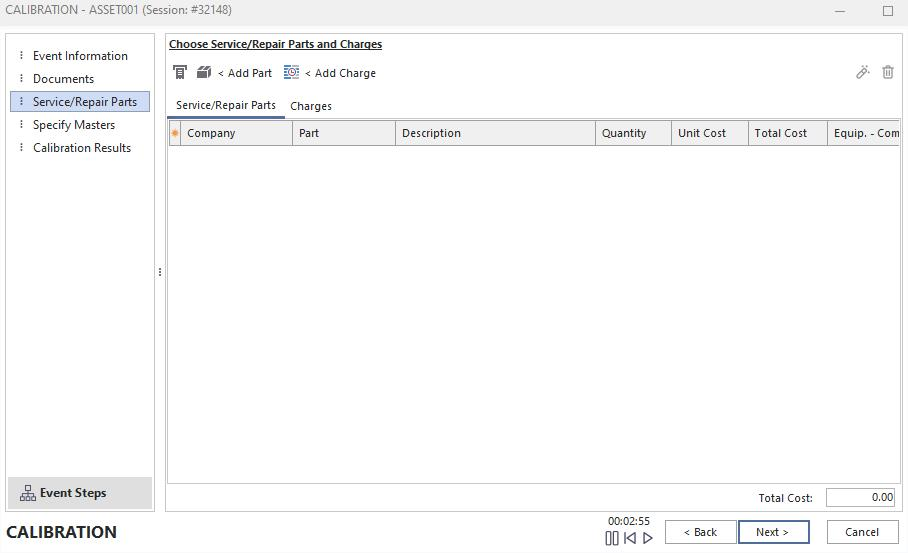
Service/Repair Parts tab
The Charges tab is used for labor-related fees, such as calibration charges or labor hours.
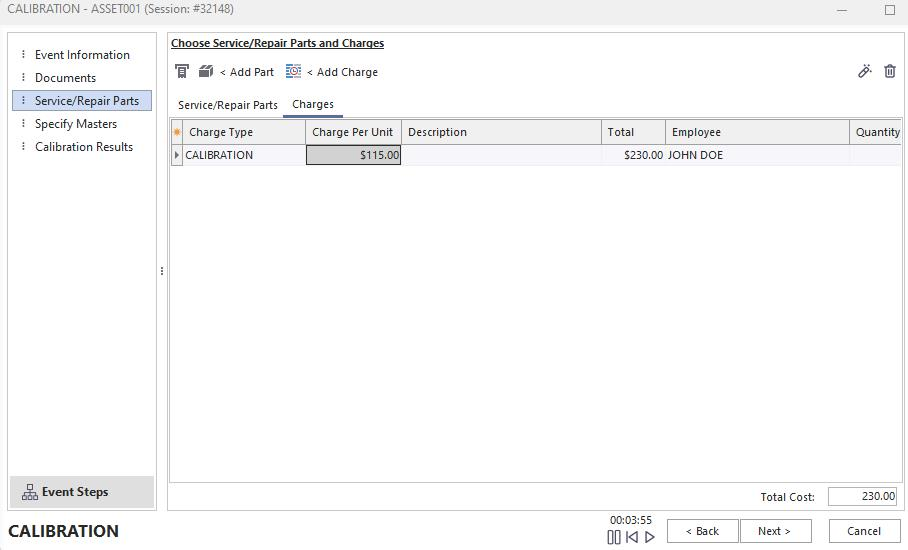
Charges tab
Step 4 — Specify Standards
These can be added here or from the main screen under the Calibration Info tab. Click the binoculars icon ![]() and choose a standard from the list.
and choose a standard from the list.
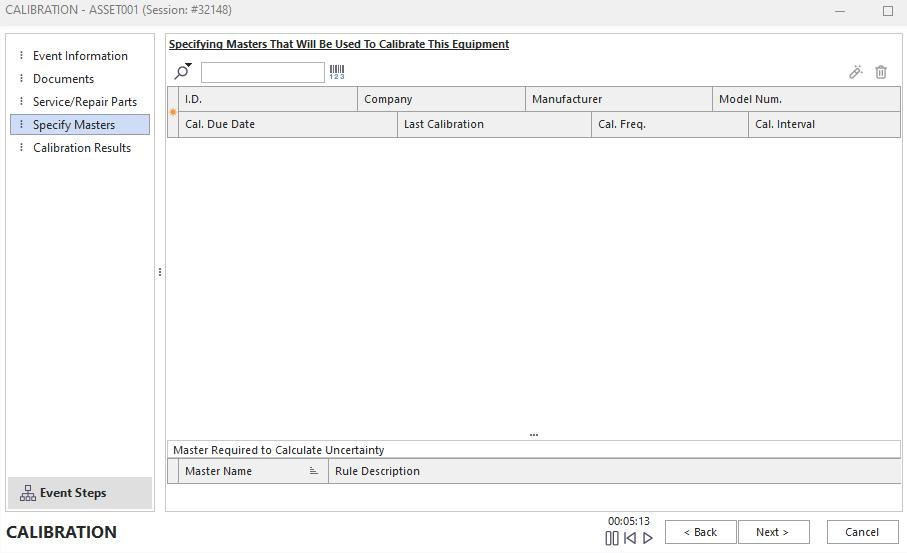
Specify Standards
Click Next to proceed to the fourth screen.
Step 5 — Calibration Results
Select the result by dragging the slider bar up or down. The screen below appears if you have no test point data on the main screen.
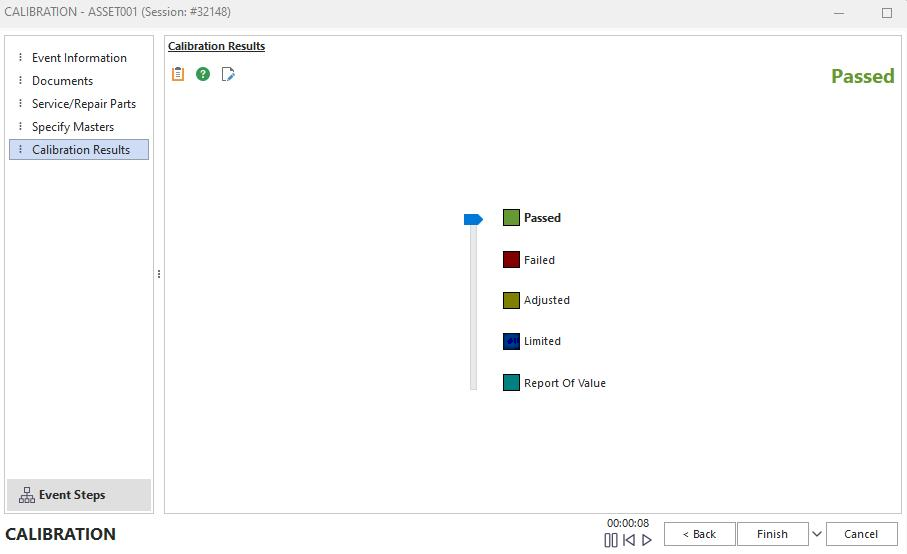
Calibration Results — slider
If you use test point data on the main screen, the screen below appears instead. Enter the test results in the As Found column and click Finish.
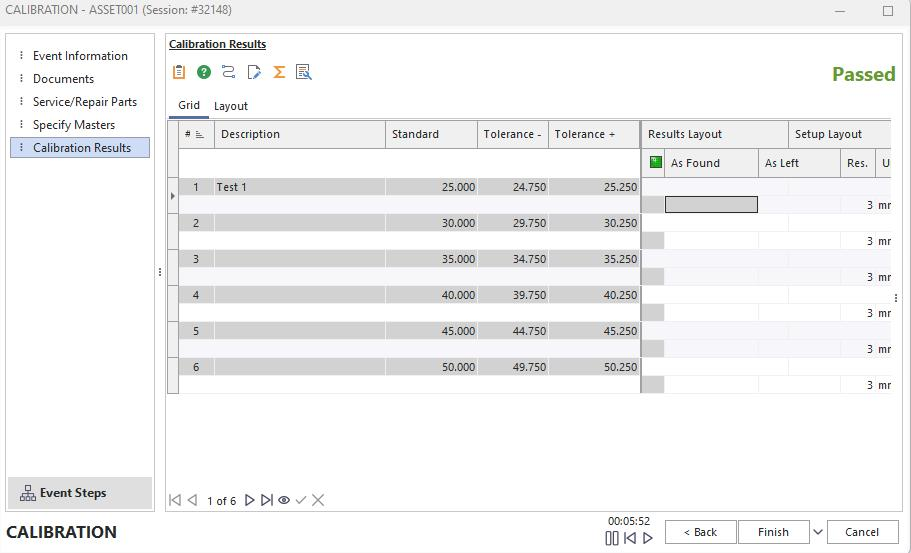
Calibration Results — test points
When the test is complete, click Finish — you'll be prompted to mark the event as Complete. If you can't complete the event, choose No to mark it as Incomplete and return to the main screen. You can finish the event later by double-clicking the highlighted Incomplete blue marker in the History grid.