Installation of Web-Tier Tools
Installing and using IndySoft Web-Tier Tools requires Windows and access to the IndySoft Web-Tier Tools installation utility. The installer comes in 64-bit and 32-bit versions. Your system administrator will either provide the executable directly, or you can download it from the IndySoft Web-Tier Dashboard screen.
Downloading the installer
If you're downloading from the Dashboard, click the download link.
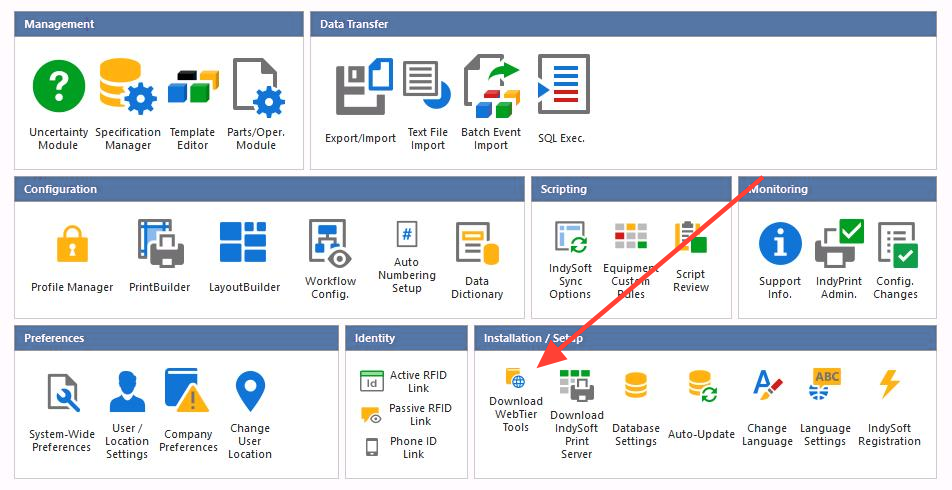
Download Web-Tier Tools weblink
Before the file is downloaded, you'll see a confirmation dialog.
The file name can contain the server address and port number, allowing for automatic connection settings.

Confirming download of the Web-Tier Tools installation file
To start the download, click Yes. If your User/Location preference isn't yet set to use Web-Tier Tools, you'll be prompted to enable it. Clicking Yes automatically checks the Use IndySoft Web-Tier Tools when using Web-Tier option in your User/Location preferences.
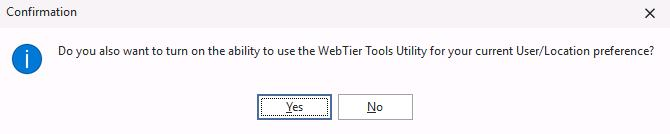
Auto-enable Web-Tier Tool features
When this option is checked, the Web-Tier client stops processing print jobs and lets the Web-Tier Tools utility handle all print job processing. It also enables local scanning and RS-232 input. The same option can be checked manually in User/Location preferences:
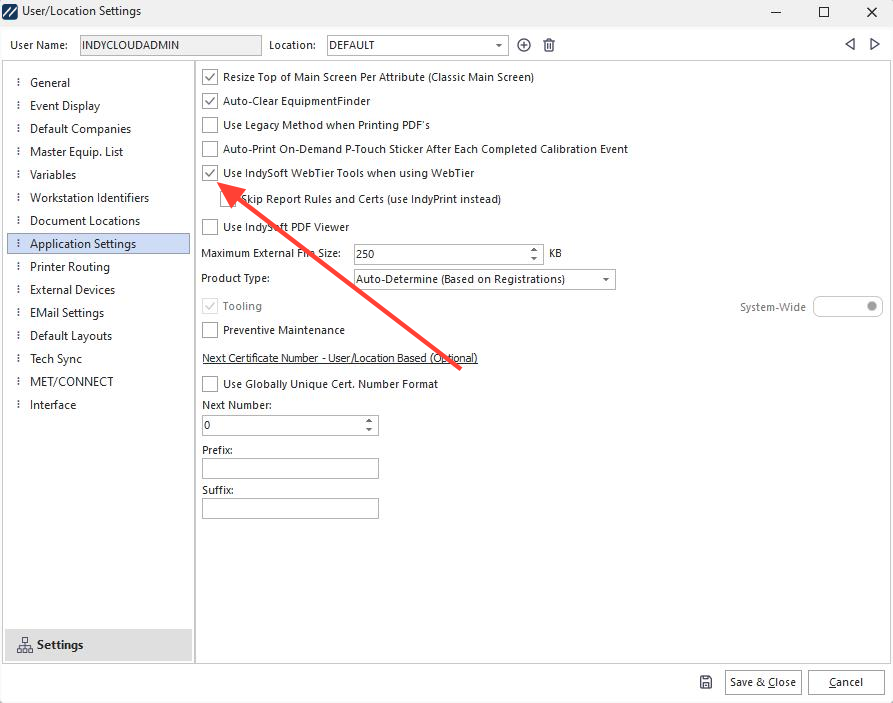
User/Location preferences — Application Settings — enabling use of IndySoft Web-Tier Tools
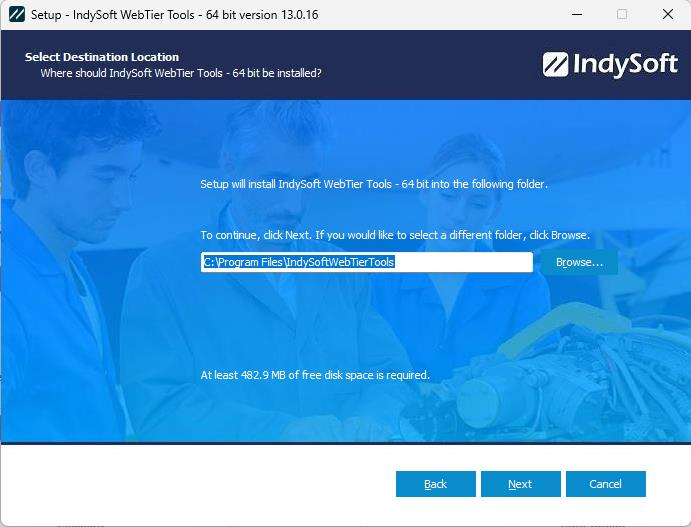
Running the installer
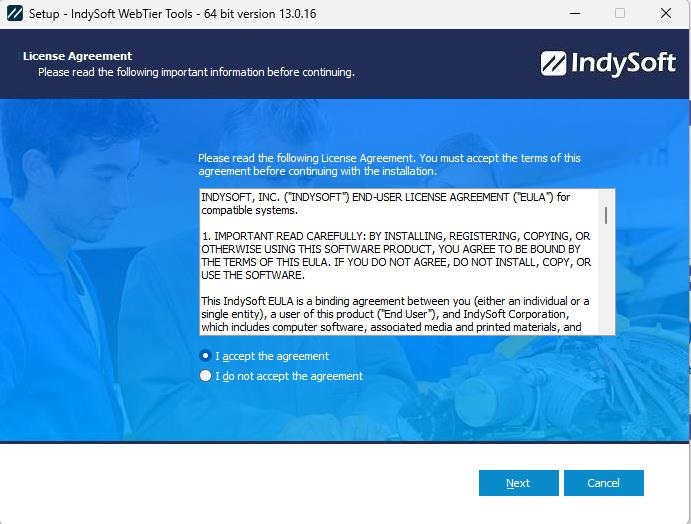
Once you start the Web-Tier Tools installation, you'll see a dialog similar to the one below. If your installation executable contains the server name and port number in its file name, those values are displayed on this screen.
Initial Web-Tier Tools installation dialog
Accept the defaults. After installation completes, you'll see the final installation dialogs:
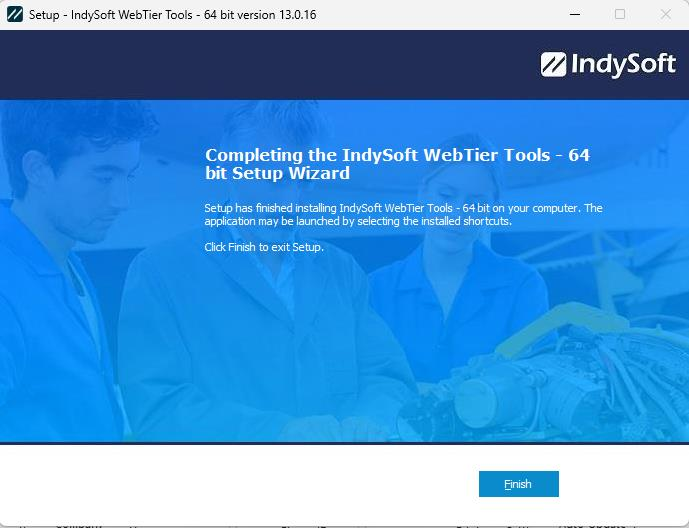
Final Web-Tier Tools installation dialog
First-time setup
After pressing Finish, if this is your first install, a confirmation dialog reminds you to specify your initial connection settings. The settings come either from the executable's file name (for 3-tier installations) or from your system administrator.
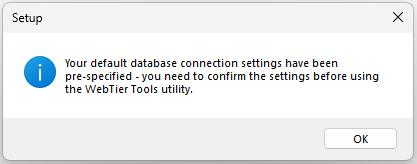
1st-time setup dialog
When the Database Settings dialog is displayed, use the Test Connection button to confirm connectivity to your IndySoft Application Server (3-tier) or direct database connection (2-tier). This dialog is similar to the standard IndySoft client database settings dialog, but it's entirely separate — Web-Tier Tools maintains its own database settings.
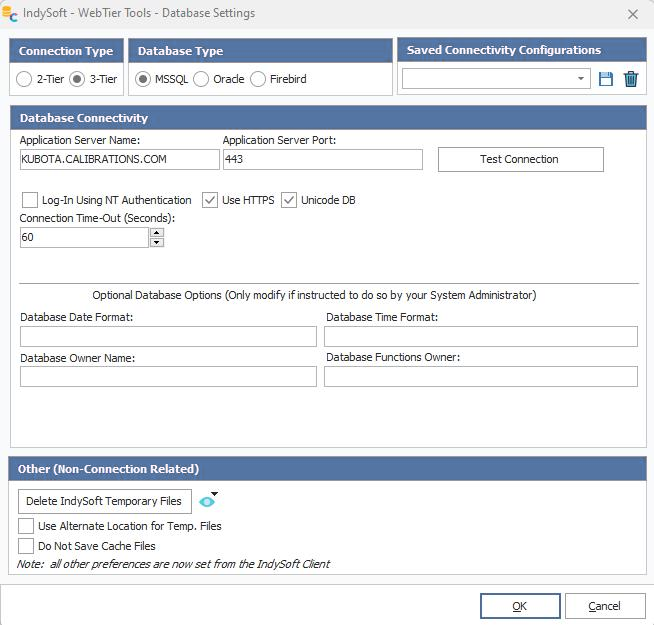
Database settings for Web-Tier Tools
Pressing OK saves your database connection settings and shows the initial Web-Tier Tools login dialog. Log in with the same username and password you use for the IndySoft client. You only need to log in this way the first time, or after your computer or the app is closed and restarted — during installation, Web-Tier Tools is configured to auto-start on Windows login.
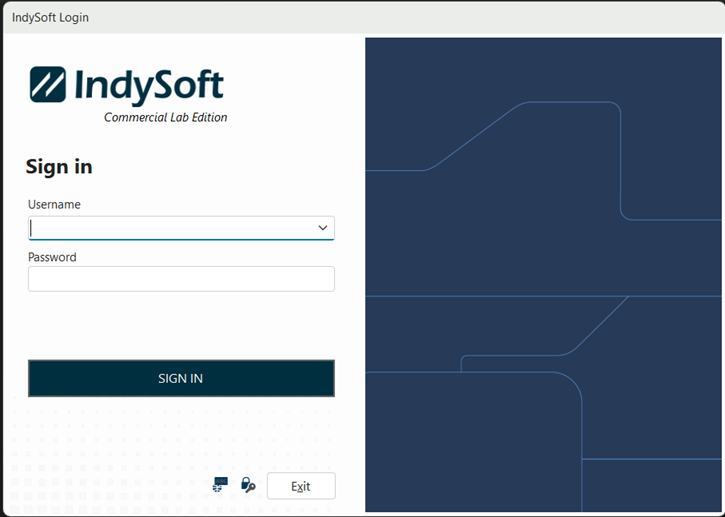
Web-Tier Tools login screen
Once logged in, the IndySoft Web-Tier Tools icon appears in the Windows system tray.
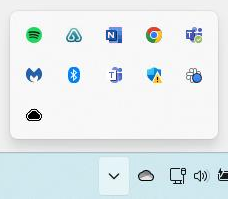
Windows system tray