Creating a New Template
To maintain a consistent equipment database, you can use Equipment Templates. A little upfront planning here helps you build a system that:
- Lets new users enter new equipment without understanding equipment details (schedules, test-point setups, default masters/standards, etc.)
- Provides an extremely fast way of entering equipment data.
- Ensures all new equipment information is entered consistently.
- Provides the ability to accurately and quickly produce estimates (Commercial Lab only).
Creating the template
Open the Template Editor from one of these locations:
- From the Home Layout: Add/Edit → System-Wide → Templates
- In v13: from the Admin Panel
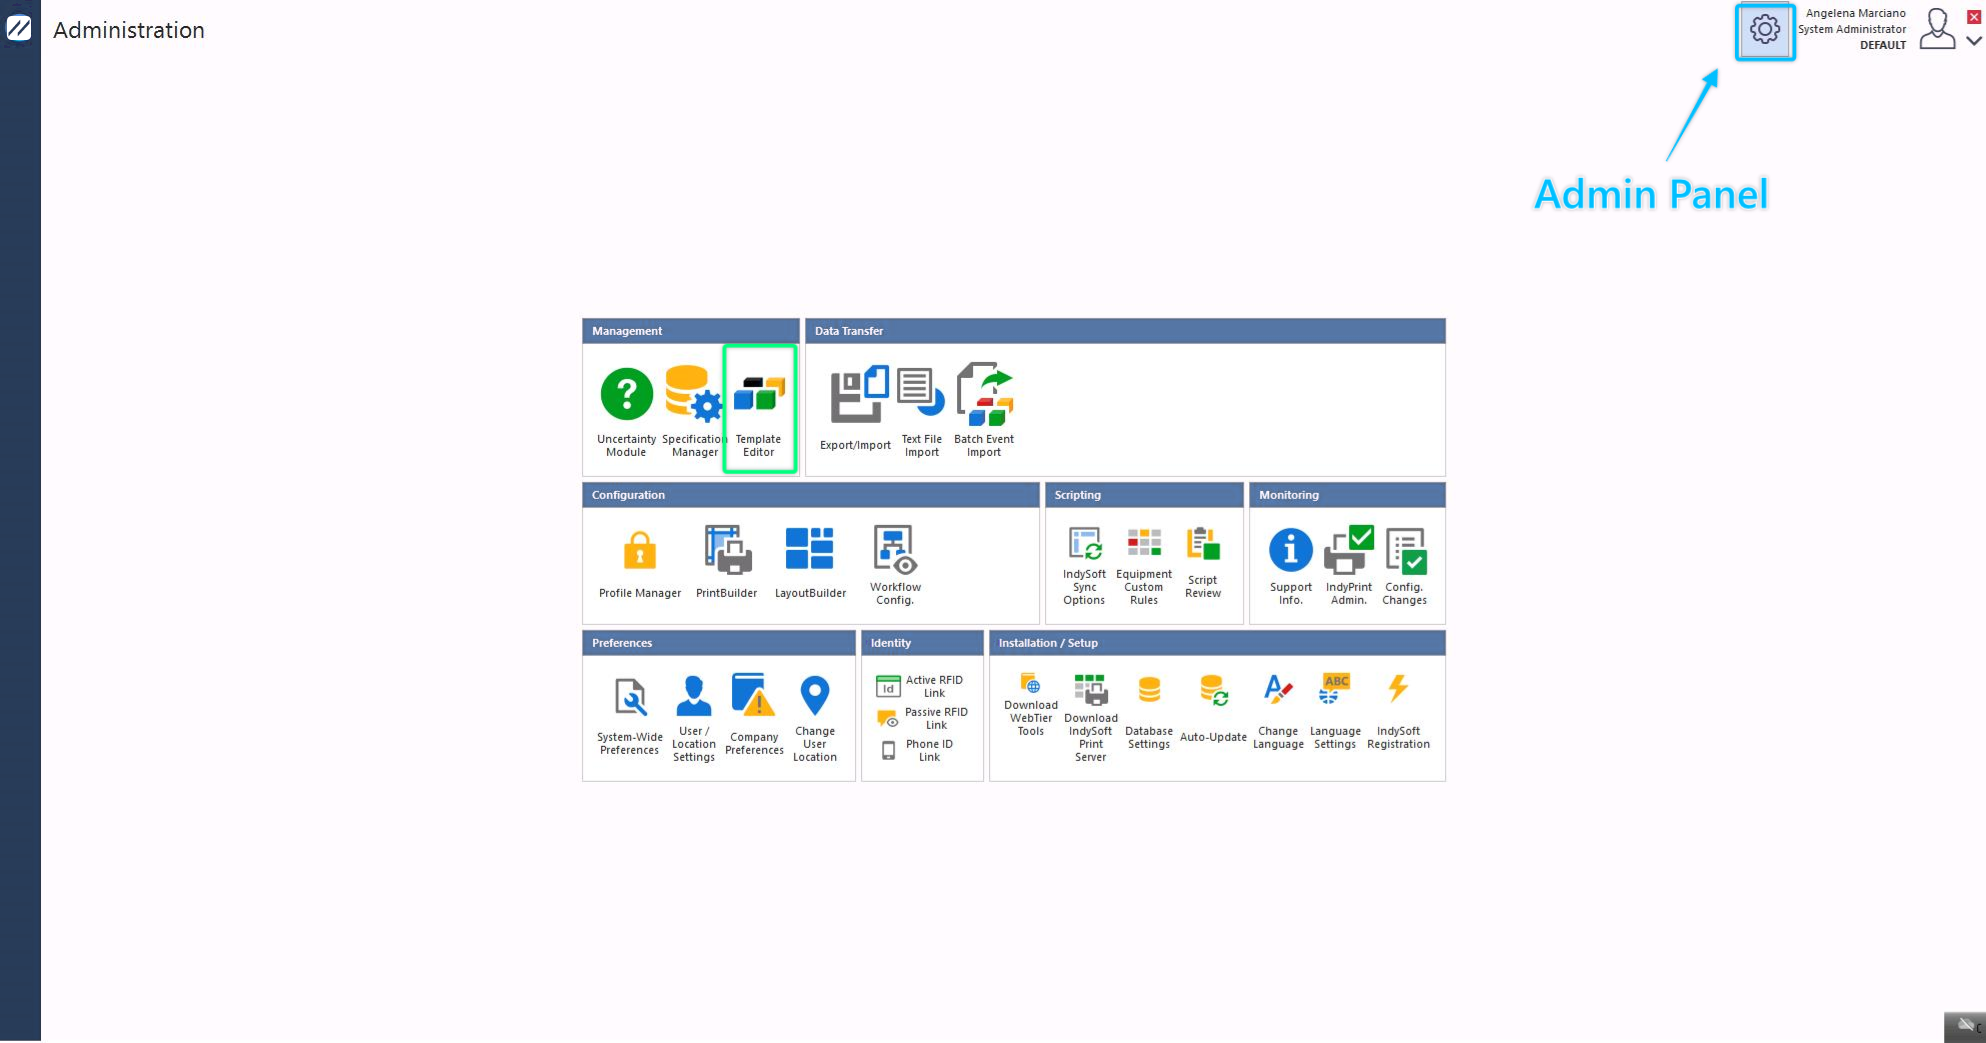
Opening the Template Editor
To create a new template, click the New Template icon.
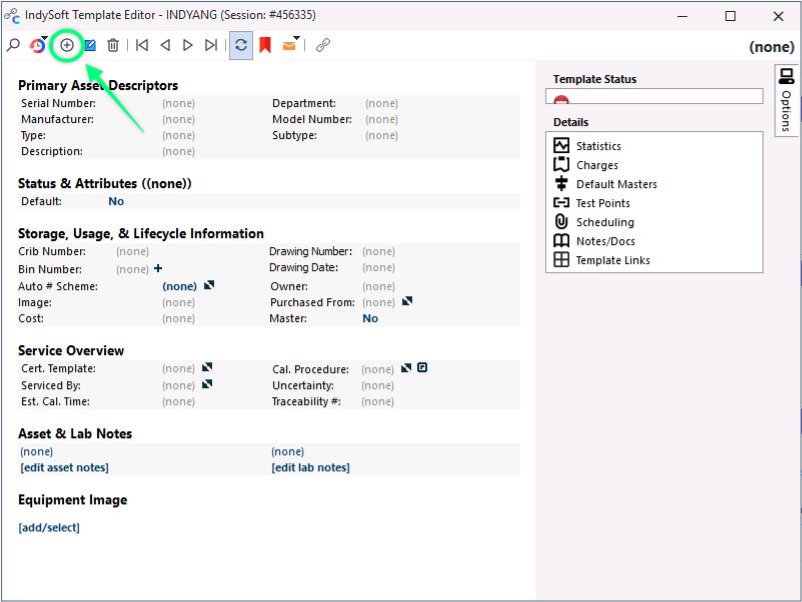
New Template icon
This opens the New Template dialog:

New Template dialog
To create a new blank template, ensure nothing is in the Based Upon (Selected Below) field — otherwise the new template is cloned from the selected one.
Enter the name of the new template and click Next.
Editing the template
The next screen is similar to the Equipment Layout — but only equipment information that's shared between equipment can be entered here. Instead of a unique I.D. for a gage, you can specify an auto-numbering scheme.
There's also an Equipment Linked indicator ![]() that tells you how many pieces of equipment are linked to the template (and therefore affected by changes).
that tells you how many pieces of equipment are linked to the template (and therefore affected by changes).
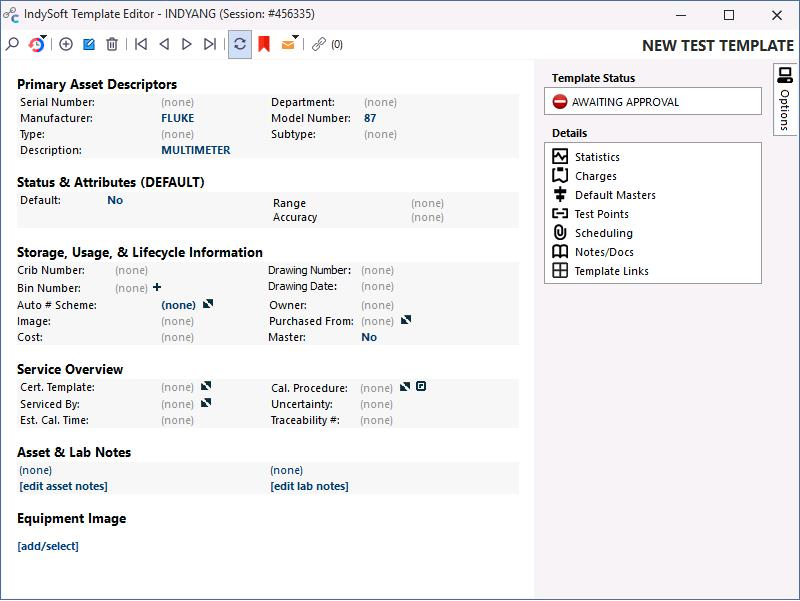
Template editor — equipment-linked indicator
Edit the template to contain the same data that new equipment created from this template would contain. The template auto-saves as you edit.
If applicable, enter template approval and the designated sign-offs.
Only approved templates are available for use on equipment.
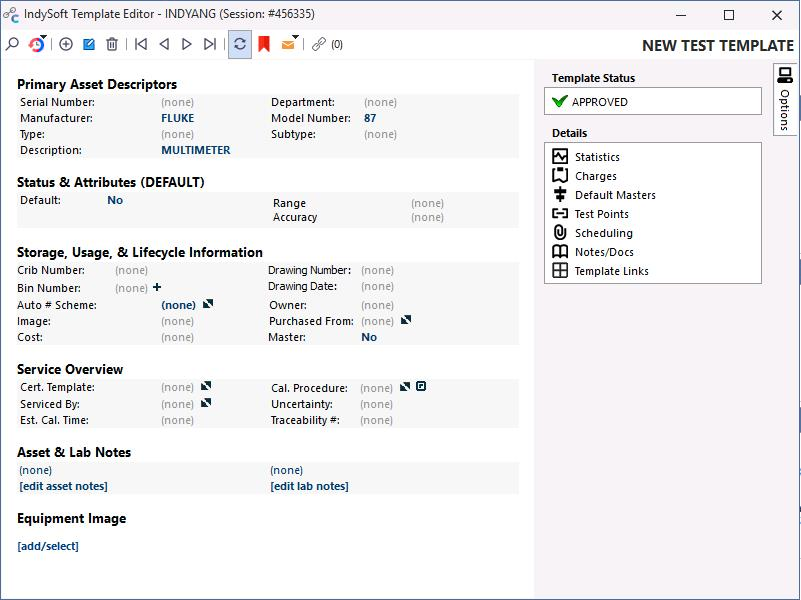
Template approval
When you're done, close the window with the X to return to the main screen.
See the help guide for more on template functions. Template information links and fields can be edited in System-Wide Preferences and Layout Builder.