Repair
The Repair event is launched from Events → Repair on the main screen.
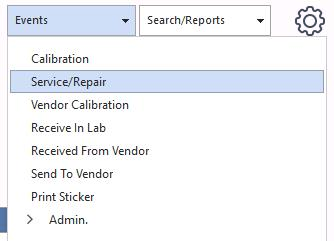
Events → Repair menu
The Repair event is good for on-site repairs or service to equipment. It typically has four steps, but as with all events in IndySoft, it can be modified using the Event Configuration Wizard (see the user help files).
Step 1 — Event Information
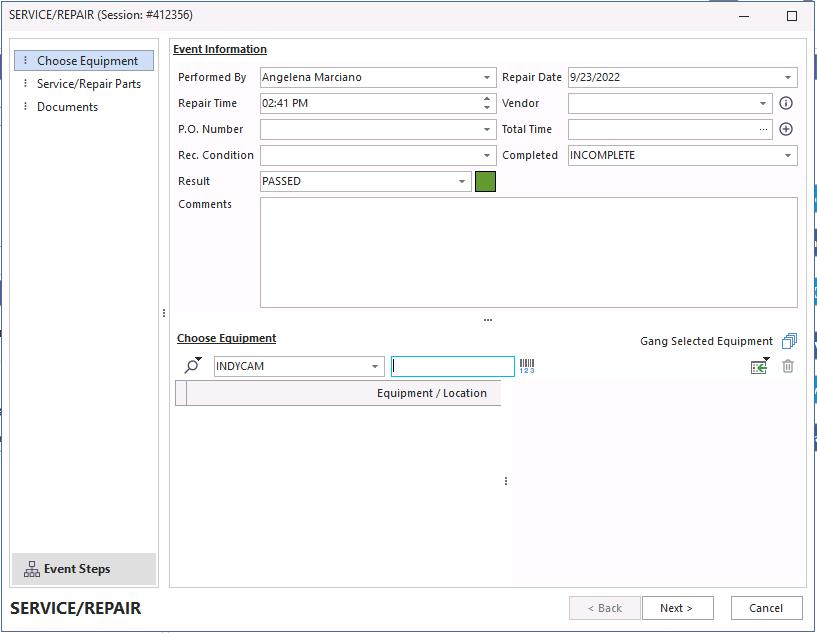
Step 1 — Event Information
Step 2 — Service / Repair Parts and Charges
Service / Repair parts can be added through Add/Edit → Parts → Service/Repair Parts to maintain a part-selection list.
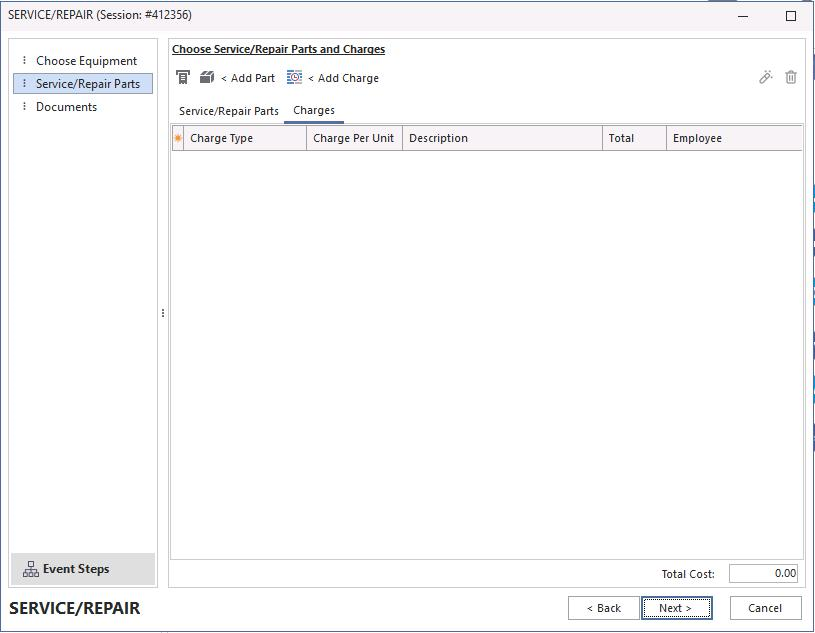
Step 2 — Service / Repair Parts and Charges
Click the Add Charge icon ![]() to add charges for the work.
to add charges for the work.
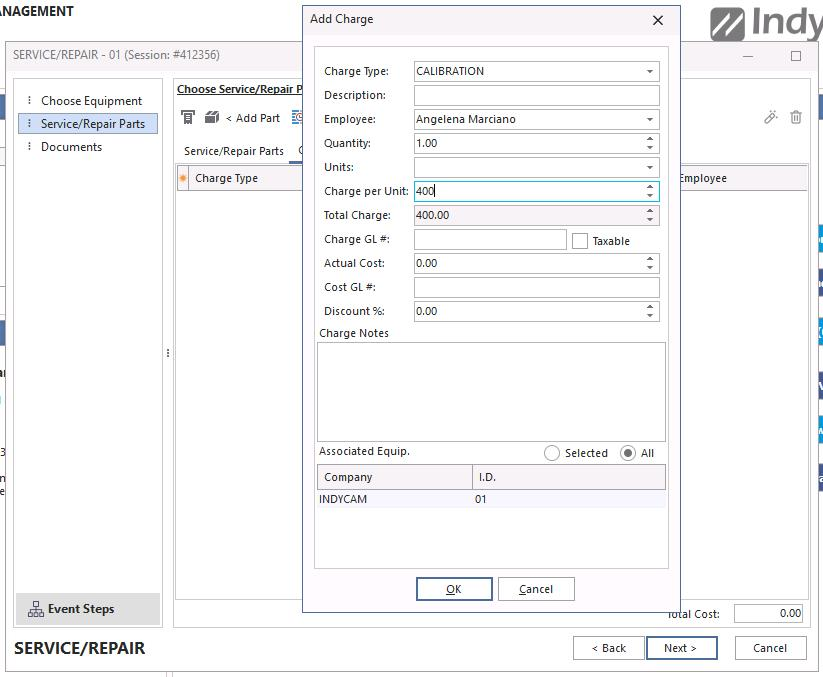
Add charges
Click Add to add Service and Repair Parts.
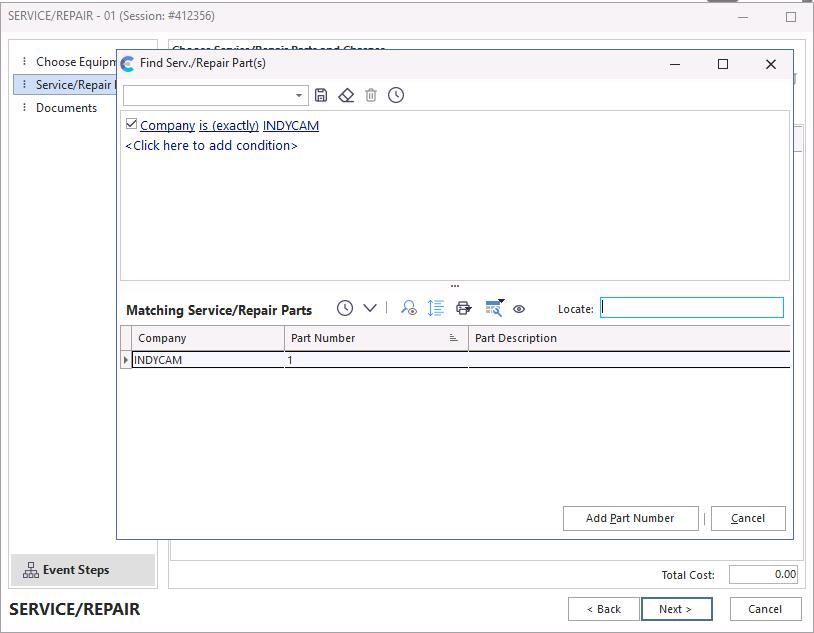
Choosing service / repair parts
This event tab can capture parts and labor items. All items are listed in the grid, which shows line-item costs and the total cost for the repair / service below it. You can add part or labor items several ways:
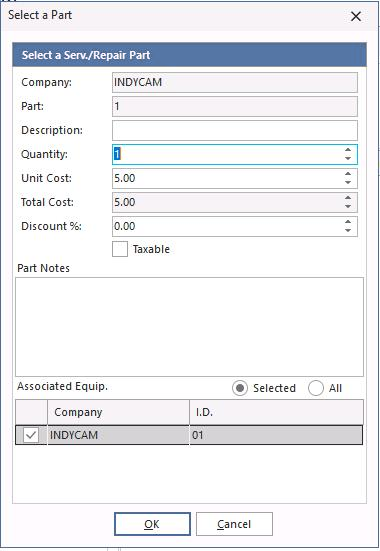
Add a Repair Part (Insert)
![]() Pops up the Select a Repair Part dialog. You can specify part company, part number, quantity, unit cost, and any notes. Service / repair parts can be added to the drop-down list from the IndySoft main screen using the Add/Edit menu.
Pops up the Select a Repair Part dialog. You can specify part company, part number, quantity, unit cost, and any notes. Service / repair parts can be added to the drop-down list from the IndySoft main screen using the Add/Edit menu.
Select a Repair Part
Choose From Repair Parts Assigned to Gage (Ctrl+Insert)
![]() Pops up a dialog with all Service / Repair parts assigned to the selected equipment on the IndySoft Equipment Layout's Service/Repair Parts list.
Pops up a dialog with all Service / Repair parts assigned to the selected equipment on the IndySoft Equipment Layout's Service/Repair Parts list.

Repair parts assigned to gage
Choose Repair Part (from the Associations tab default information)
The total is displayed at the bottom of the screen.
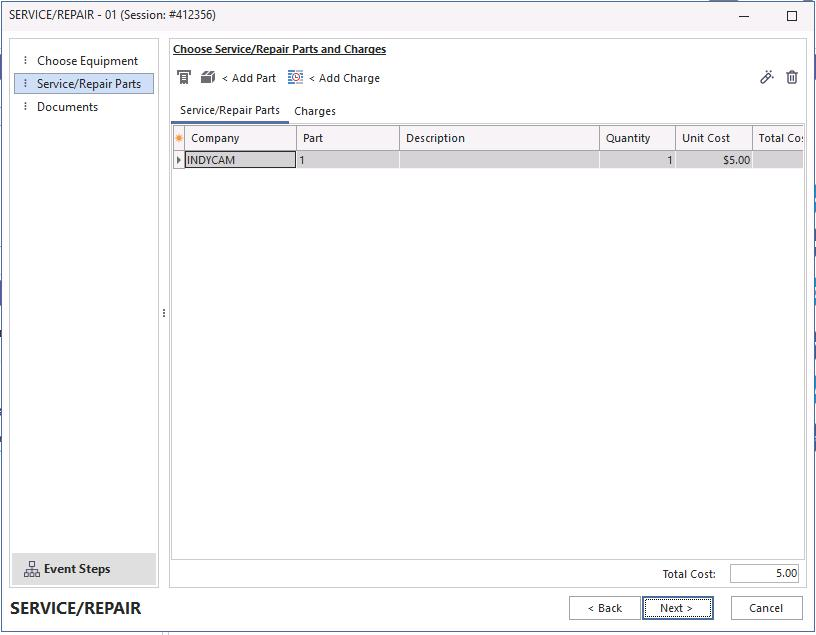
Total cost
Step 3 — Repair Procedures
Enter any repair procedures that apply to the repair process.
Event Docs can contain images to log repair evidence.

Step 3 — Repair Procedures
Click Finish.